Custom counter displays,made for your retail space.
Cardboard display boxes, divided trays, and pocket displays for small products at checkout — planned around your product, artwork, and counter footprint.
Custom Counter Displays for Checkout and Impulse Sales
【1】Holidaypac Is Your One-Stop Counter Display Factory
Who We Are?
What We Do?
Why Choose Us?
Holidaypac designs cardboard displays and packaging for brands and retail suppliers. Our team helps turn a product brief into a practical counter display, from the first structure discussion to sample review and production.
We develop custom counter display boxes, divider trays, pocket displays, and printed countertop stands. Structure, product capacity, artwork, and packing are planned around your merchandise and retail space.
Compare existing product examples, then discuss the adjustments your project needs. Review product fit, print placement, and setup with a sample before confirming your order.
【2】Explore More Holidaypac Retail Display Categories
Choose a display format around your retail space, how products are packed, and how shoppers pick them up. Compare these six Holidaypac categories, then share your product dimensions and merchandising plan to discuss a suitable structure.
01
Cardboard Display Stand
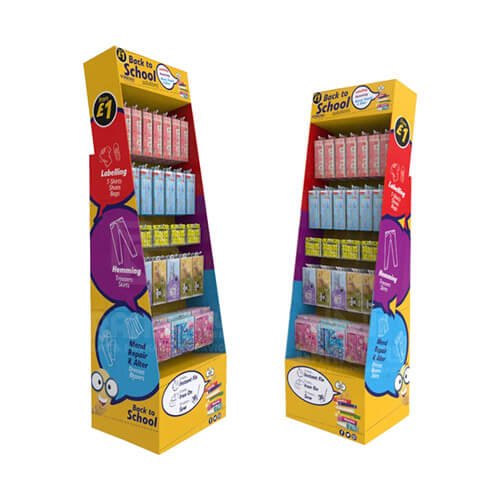
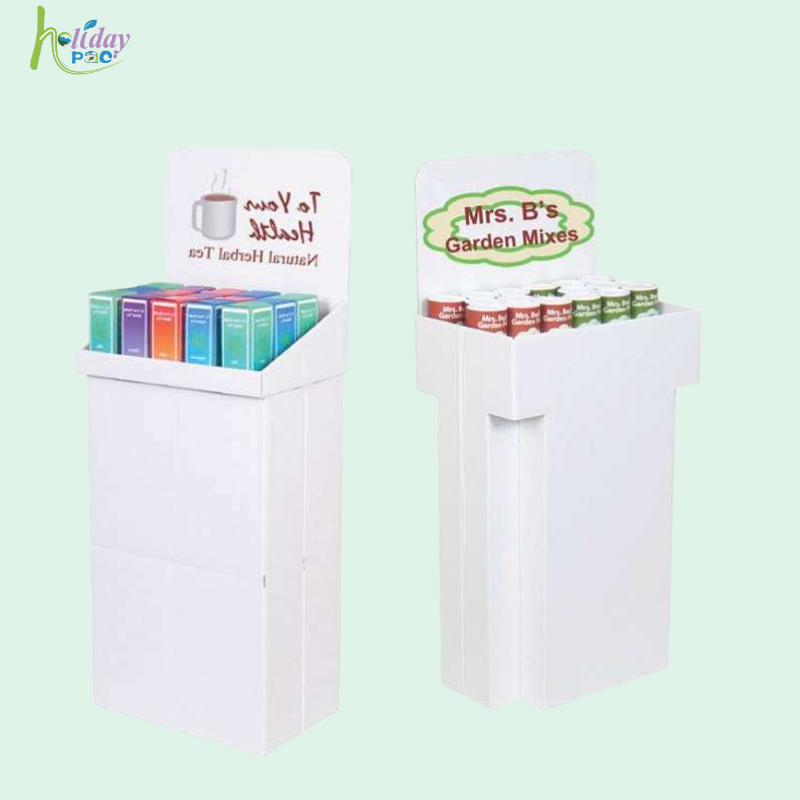
Explore cardboard display formats when your promotion needs more space than a checkout counter. Compare the product footprint, shelf arrangement, and shopper access before choosing a structure.
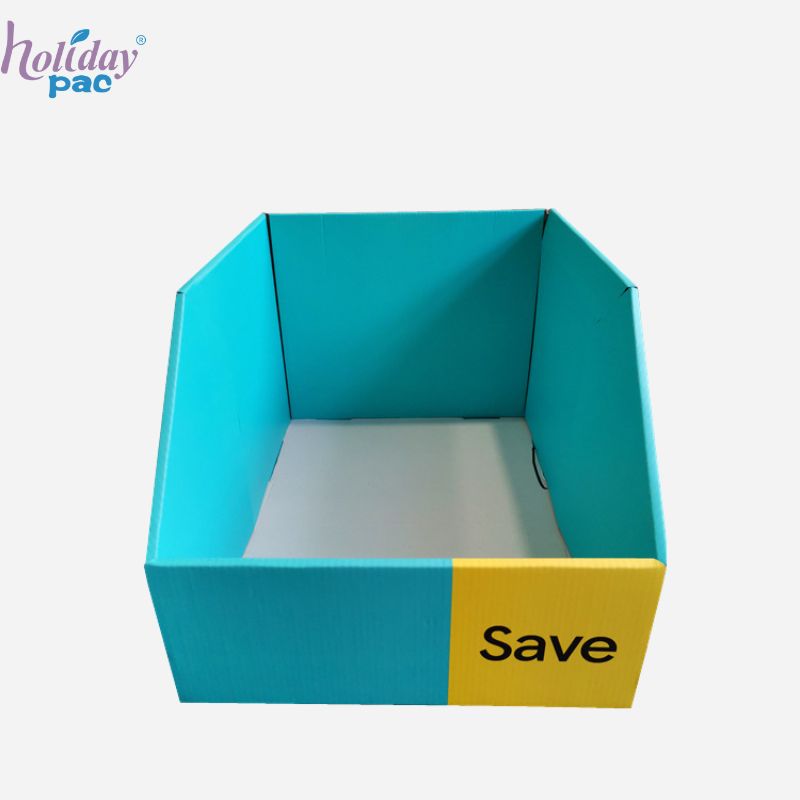
Consider a PDQ tray when products need an open front for quick pickup on a shelf or counter. Plan the tray footprint, front lip, and product arrangement around the packaged items.
Use an open-top dump bin for loose or individually packaged merchandise shoppers can browse from above. Compare bin depth and opening size with the reach needed to pick up the last items.
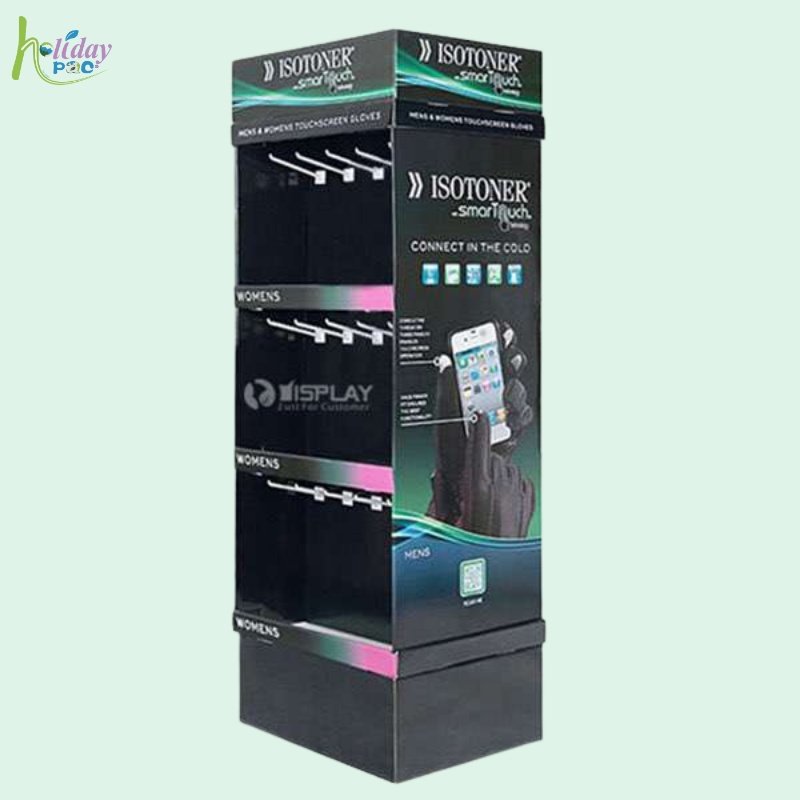
Choose hooks for products in hanging packs. Check the pack opening, hook spacing, product weight, and access so shoppers can remove one item without disturbing the others.
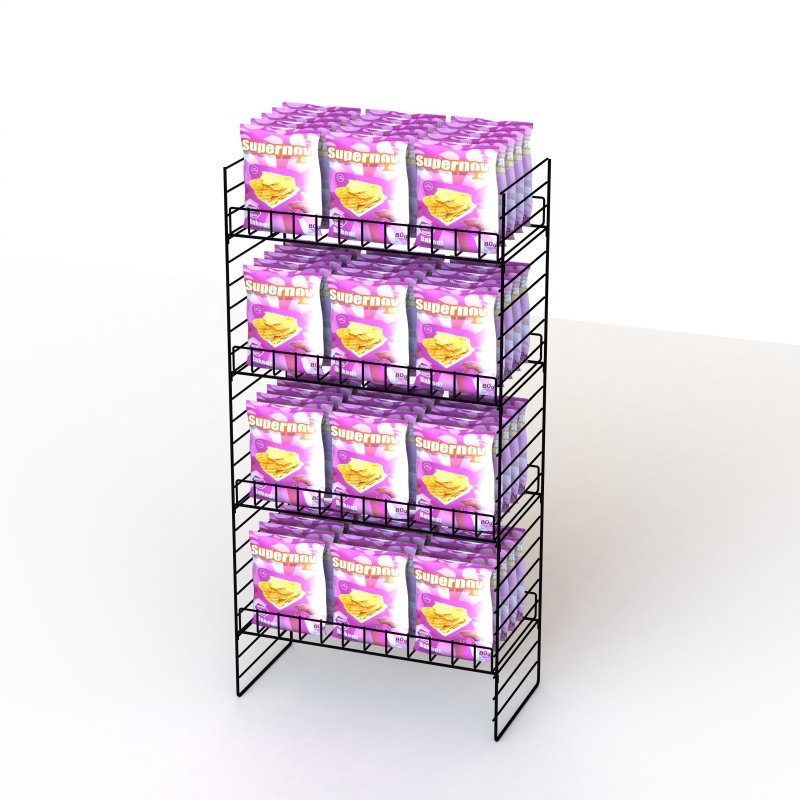
Explore metal fixtures when planning repeated use or a longer-term retail installation. Discuss shelf layout, product weight, store space, and handling requirements for the proposed structure.
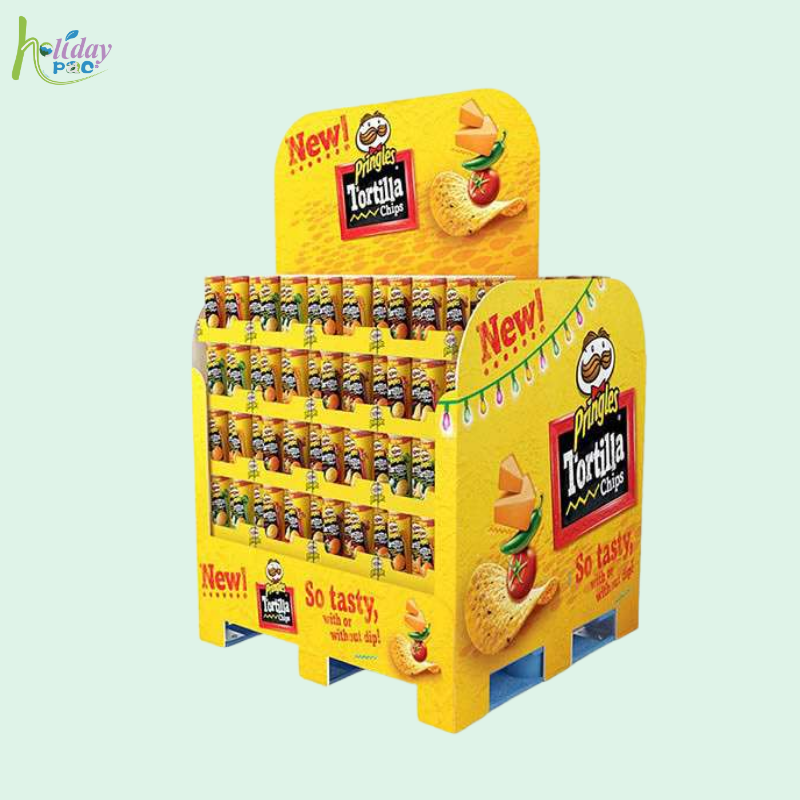
Compare pallet displays for larger promotions and higher product quantities. Confirm the retailer’s footprint, accessible sides, packing method, and replenishment plan before selecting a format.
【3】Design From Concept to Reality for Counter Displays
From structural drawings to cutting and assembly, see the work behind a custom counter display.
01
Plan the Structure
Counter display dieline
Start with the packaged product, quantity, and counter footprint. Develop the panels, folds, and dividers around your product.
02
Confirm the Design
Design layout + sample reference
Review the layout, header, and product positions with your artwork. Confirm project-specific dimensions and details before sample making.
03
Cut the Sample
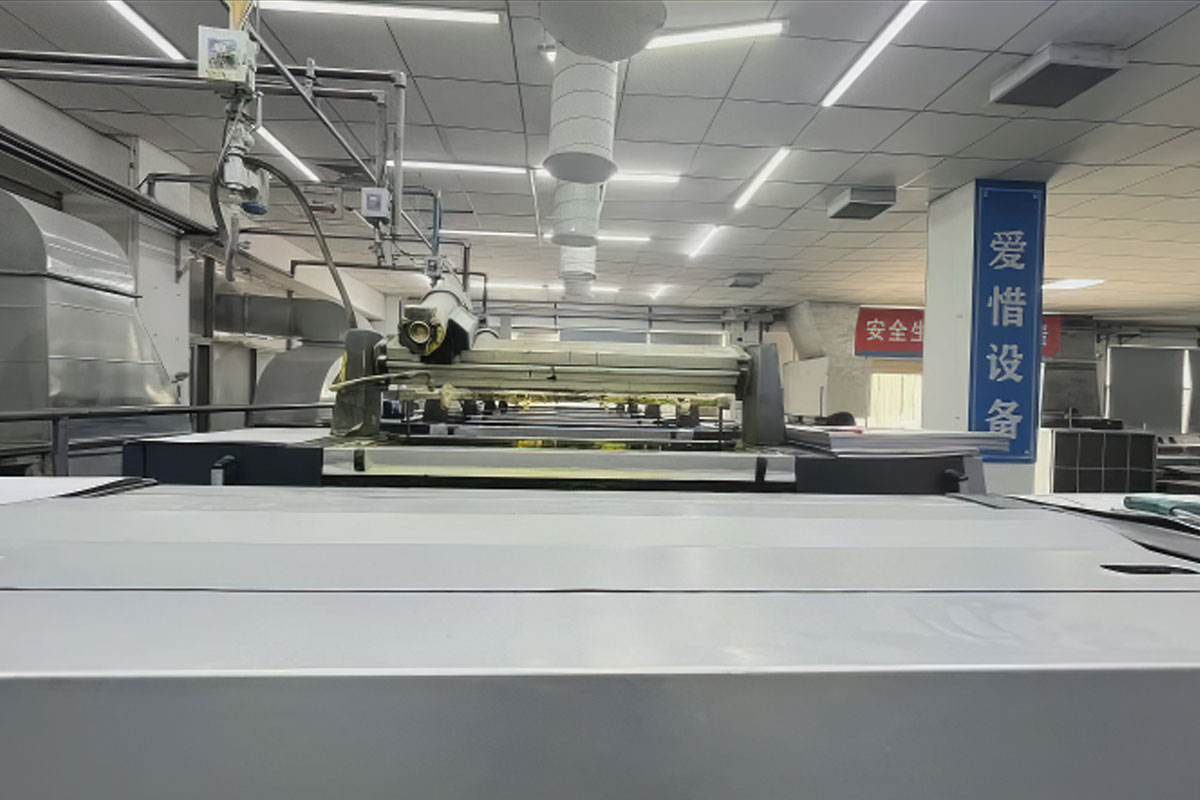
Sample-cutting equipment
Cut and crease the sample components from the confirmed structural file. Use the sample to check folds, tabs, and the intended construction.
04
Assemble & Review
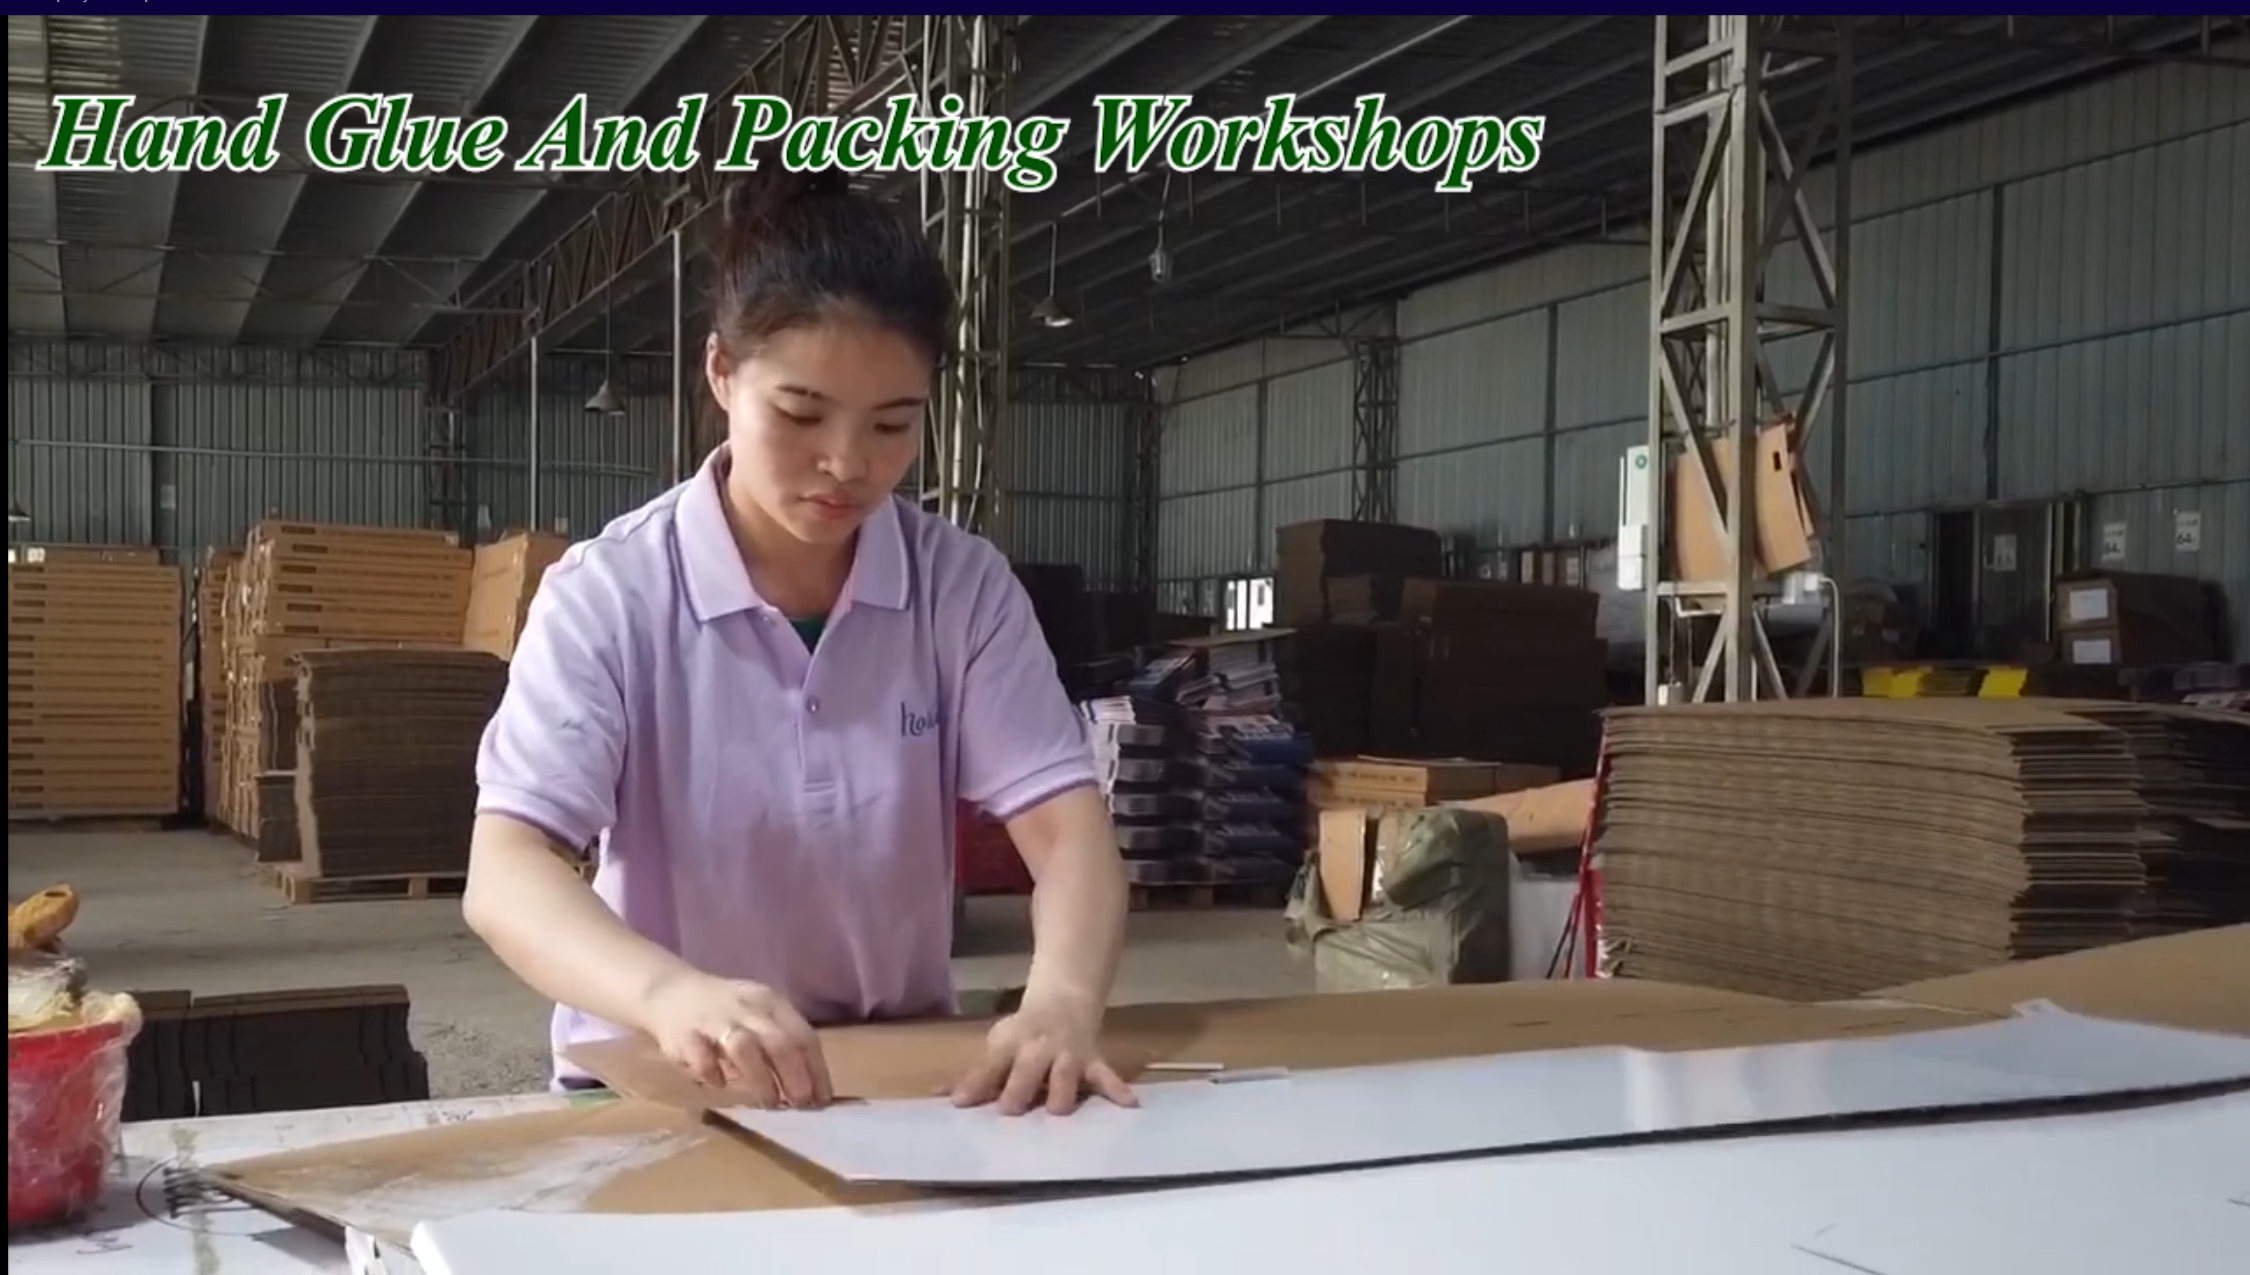
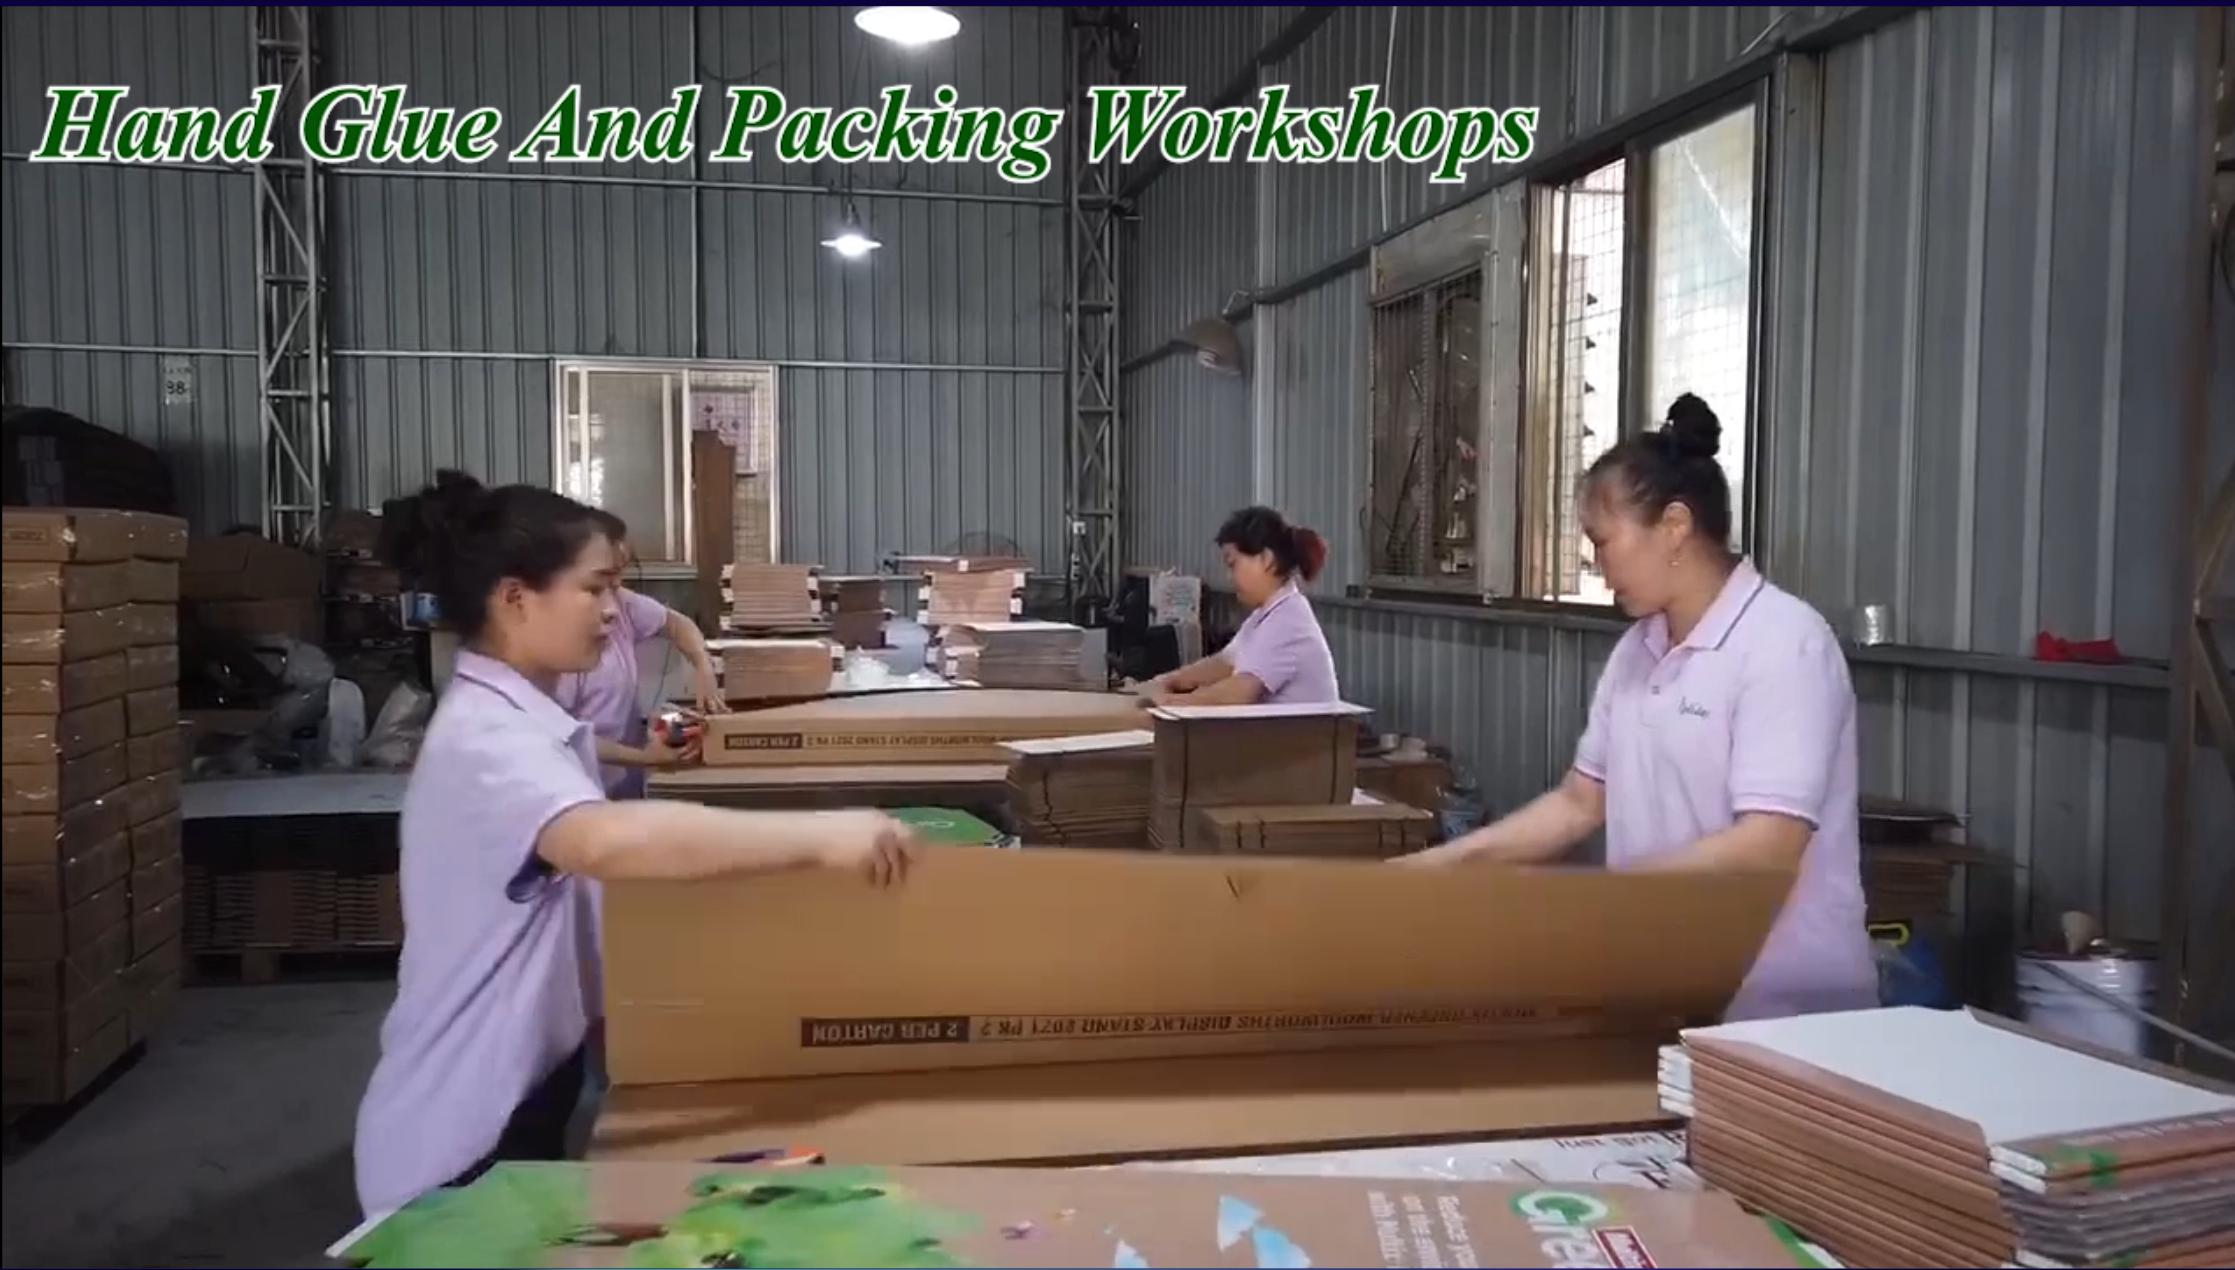
Workshop assembly
Assemble the sample and test it with the intended products. Review product fit, stability, access, and print appearance before production approval.
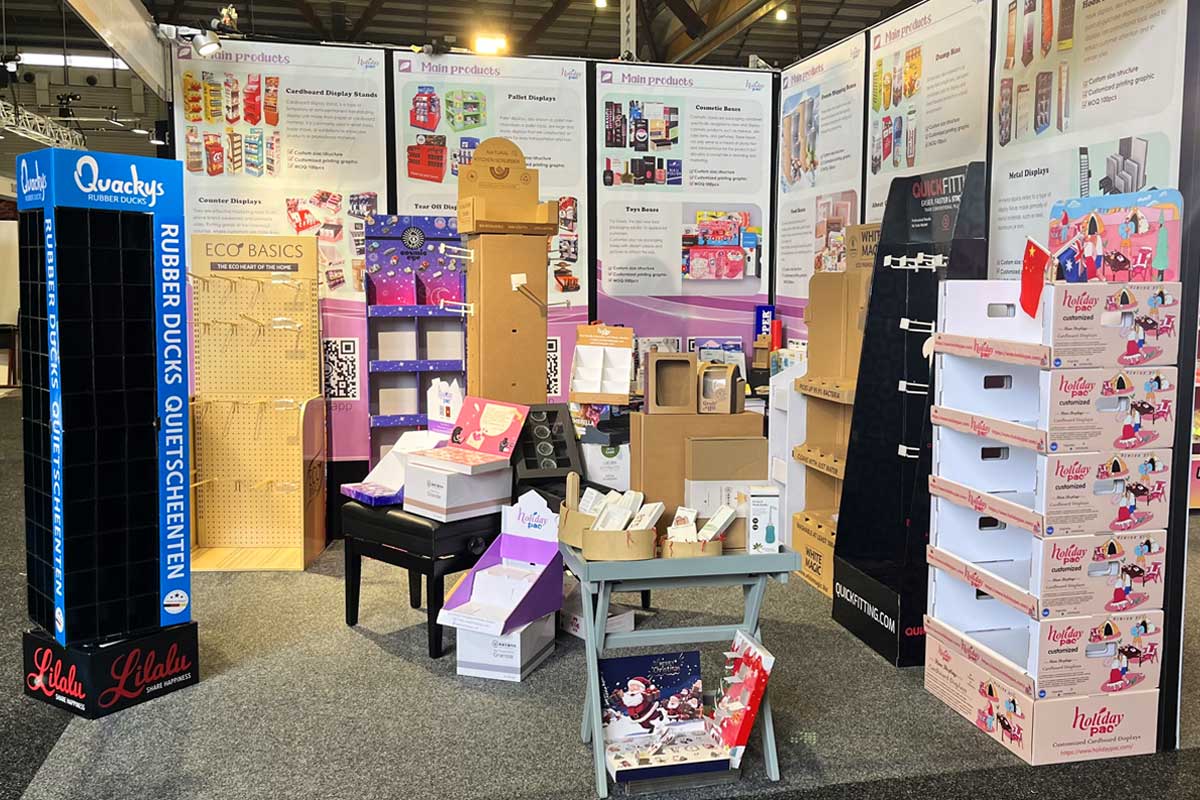
Reference examples from Holidaypac’s template library and workshop, across different projects. Click any image to view it in detail. Explore display templates →
【4】What Is a Counter Display? Choose the Right Format
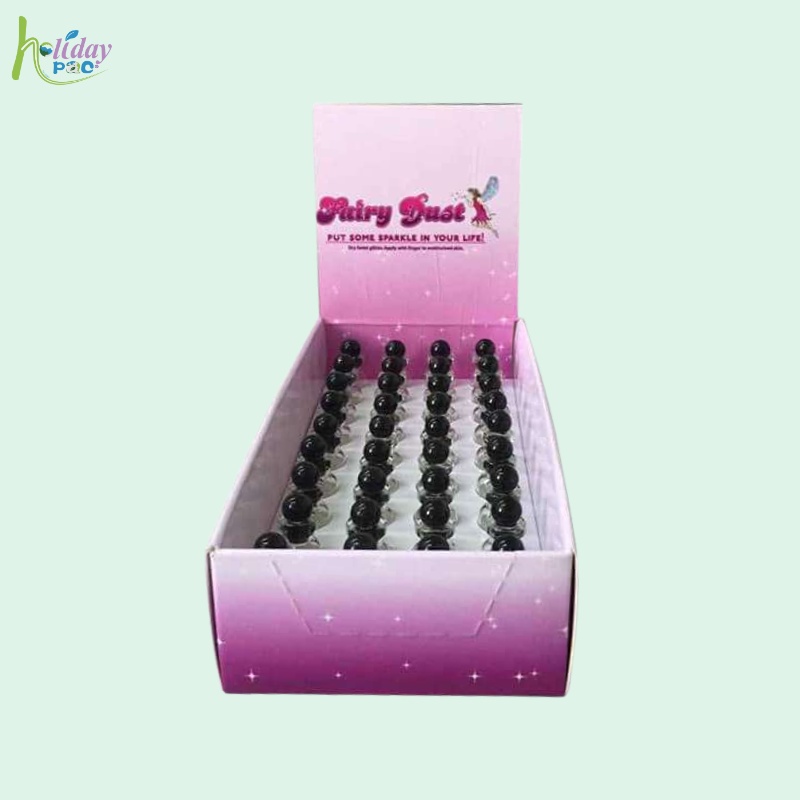
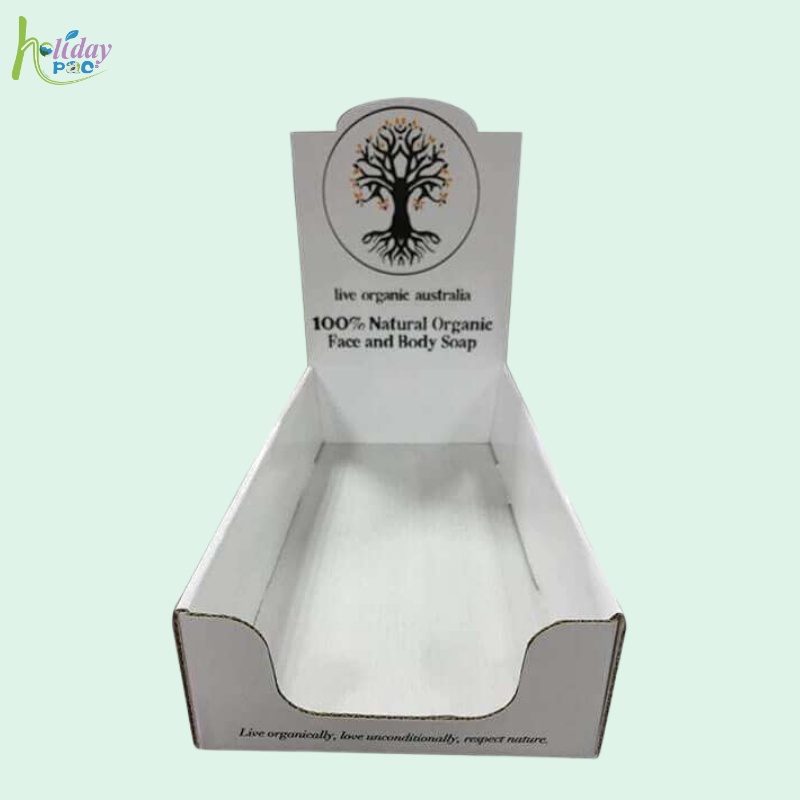
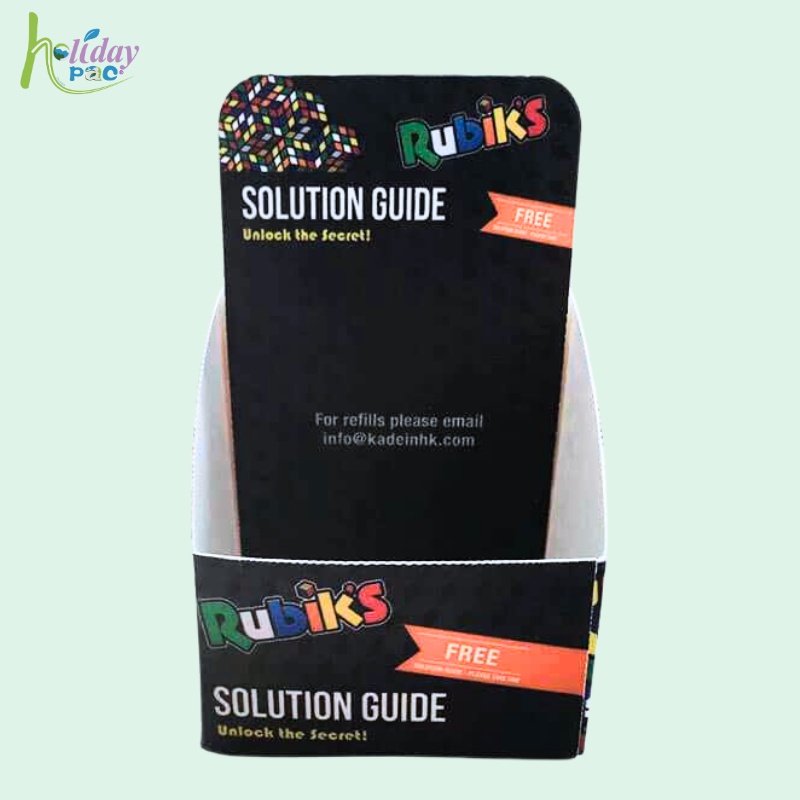
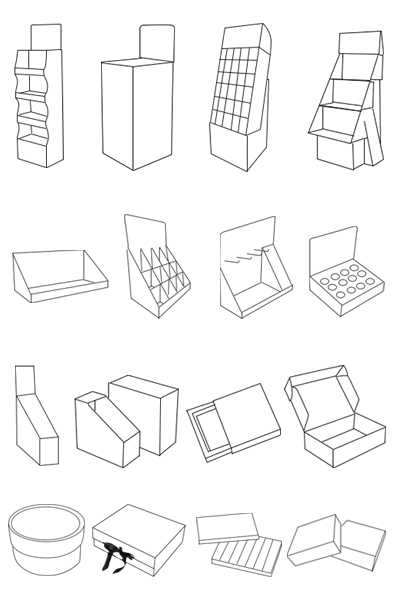
A cardboard counter display is a compact retail tray, box, or stand placed on a countertop to present products at close range. It combines product organization and brand visibility in a limited footprint. The right design depends on the packaged product and the space available near checkout.
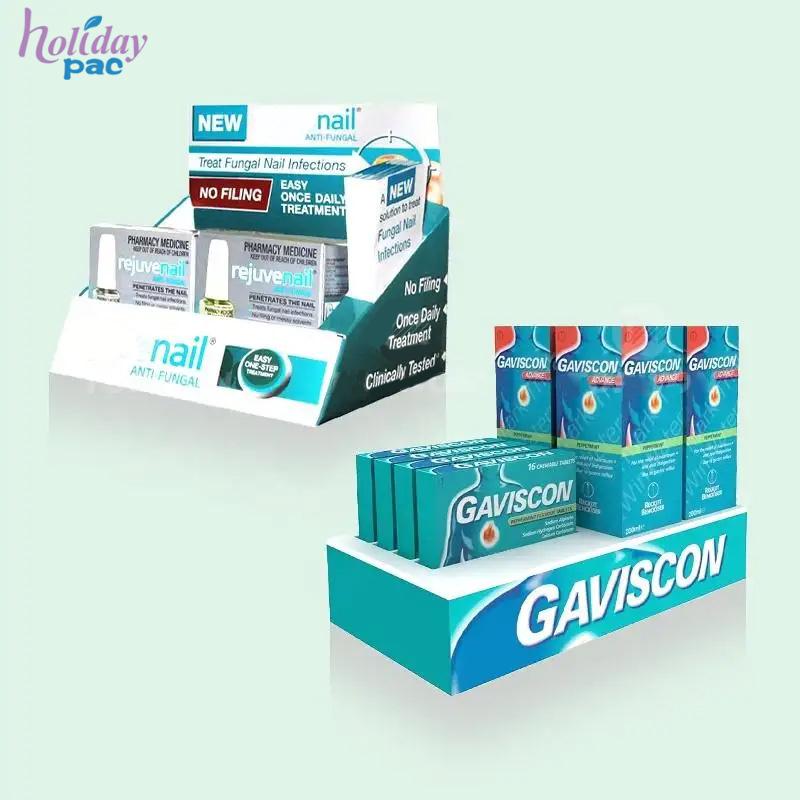
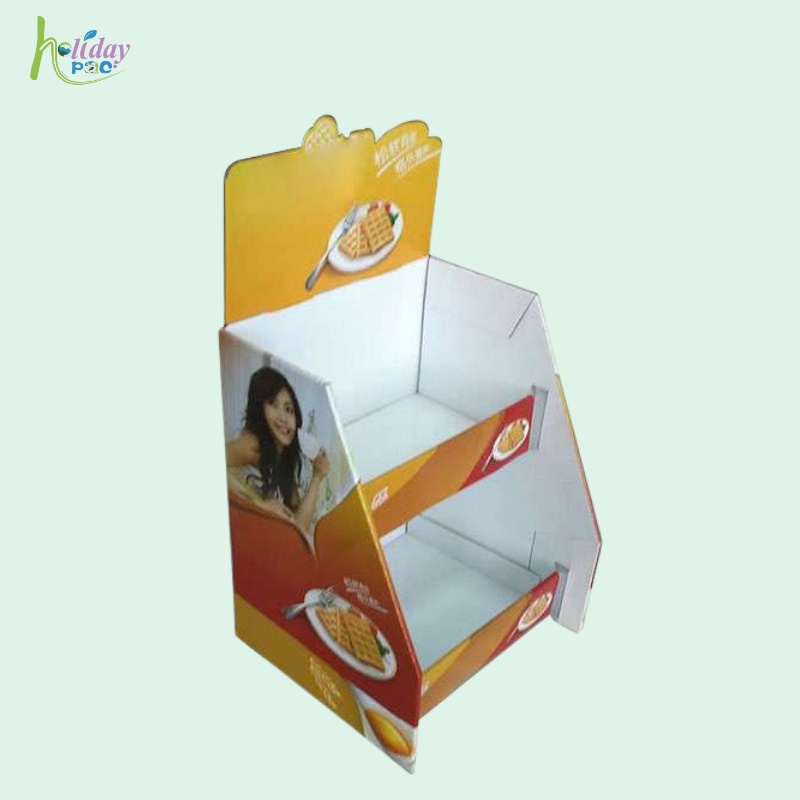
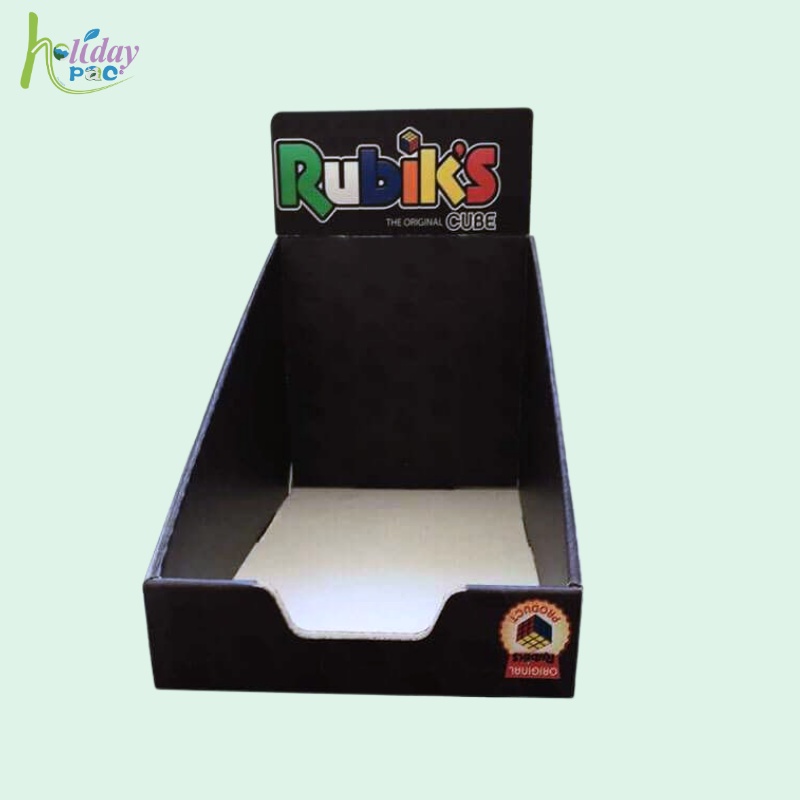
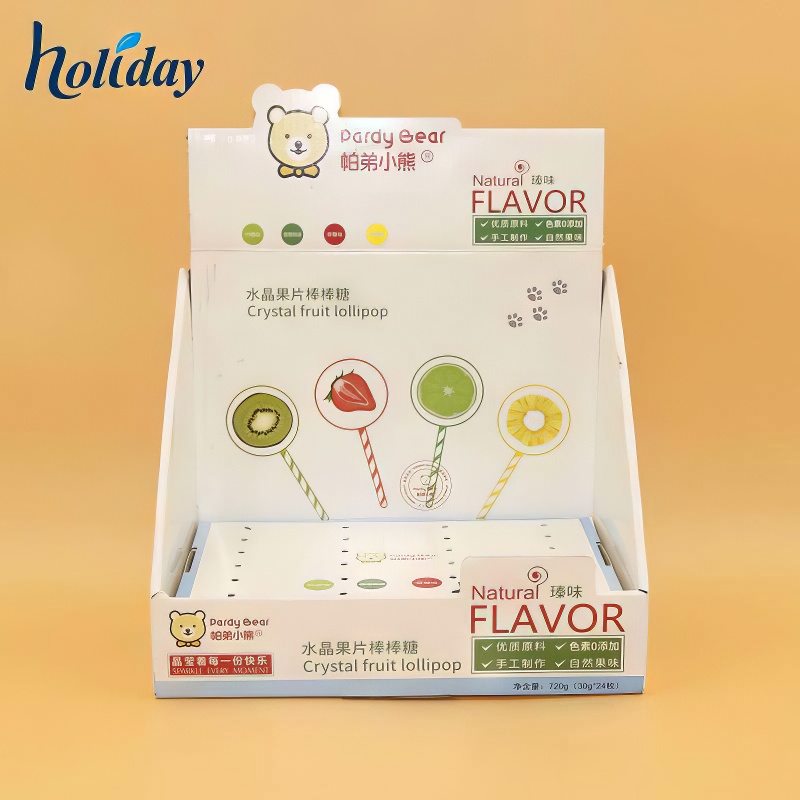
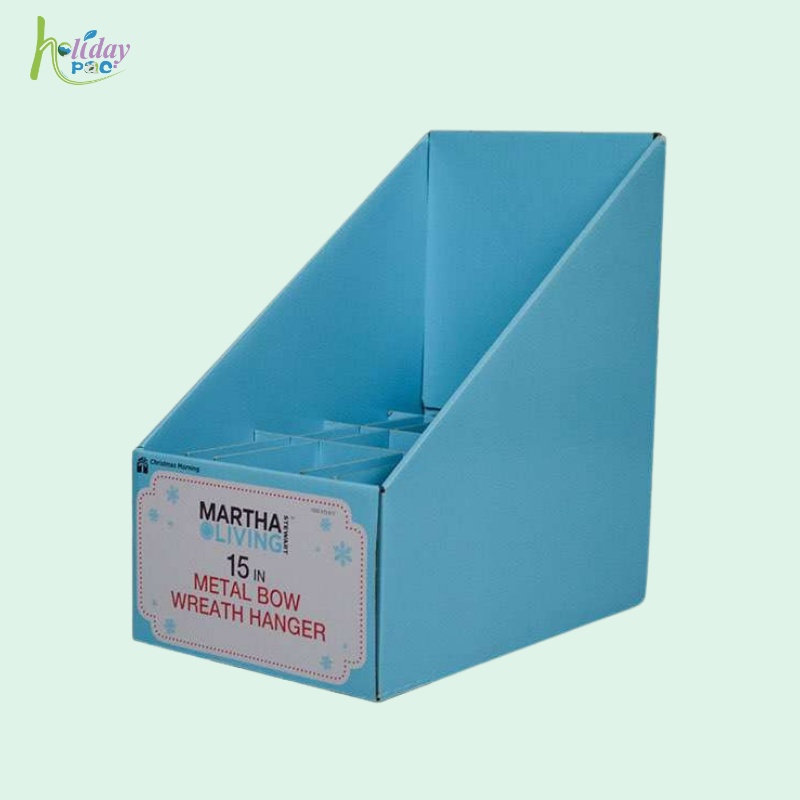
1) Open-front display tray. A low front makes small packaged goods easy to see and pick up. Compare the paper CDU display trays for open and stepped layouts.
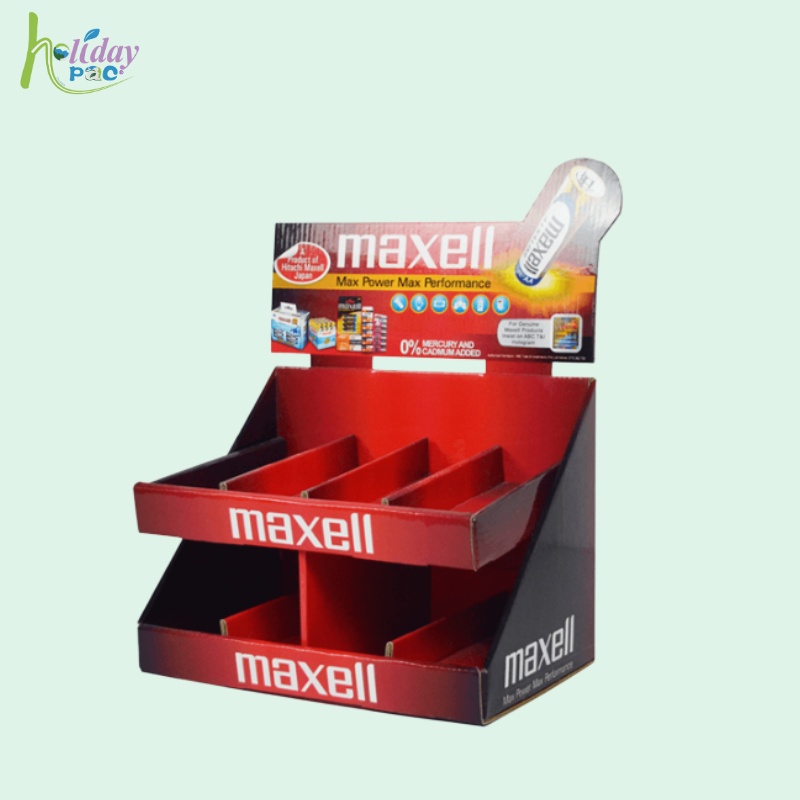
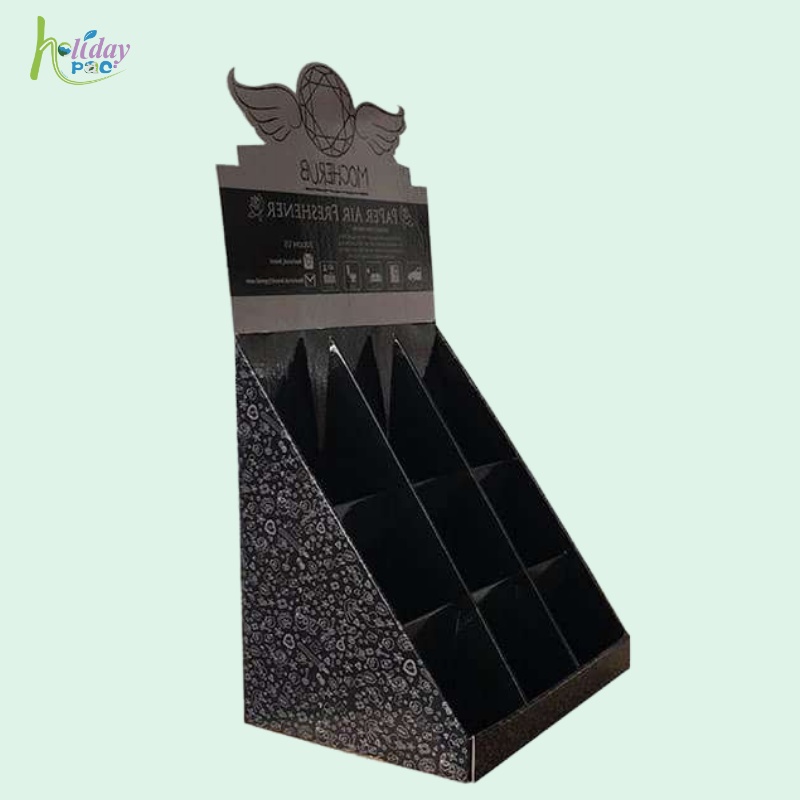
2) Divided counter display box. Separate compartments keep product lines organized and can support upright packs. See the countertop display unit with dividers.
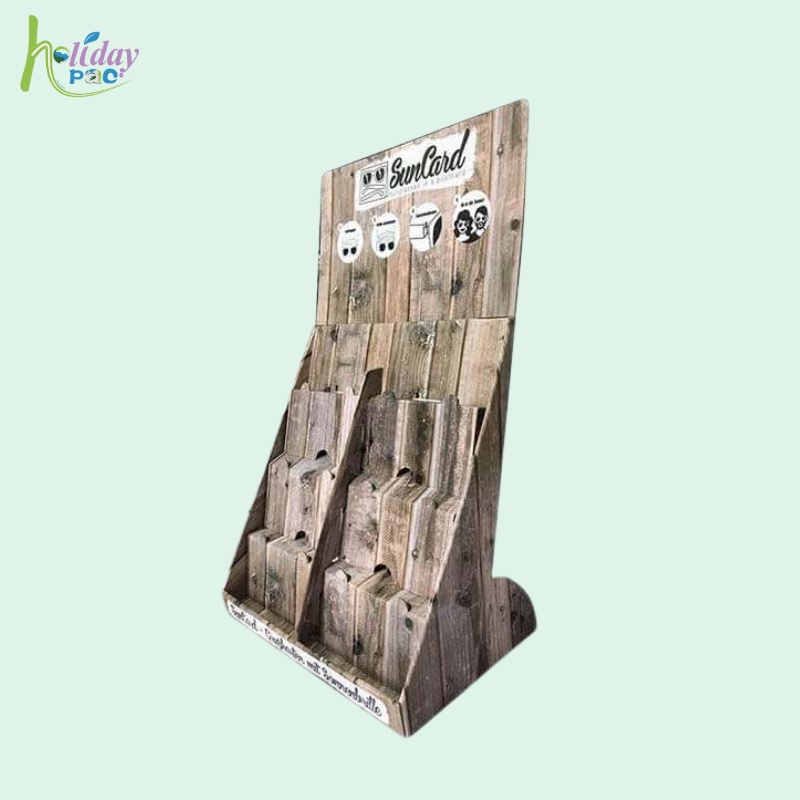
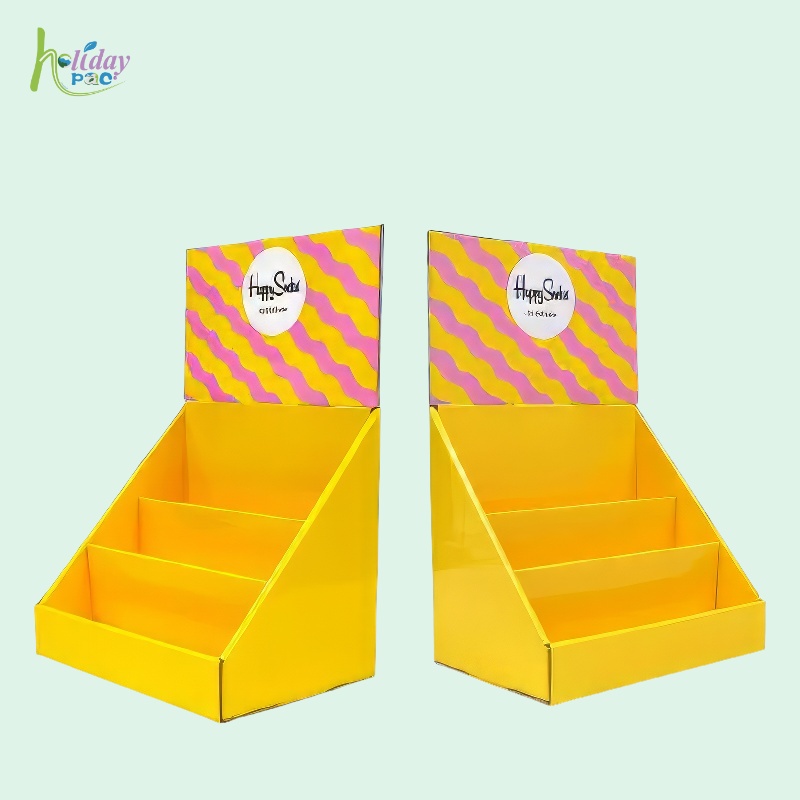
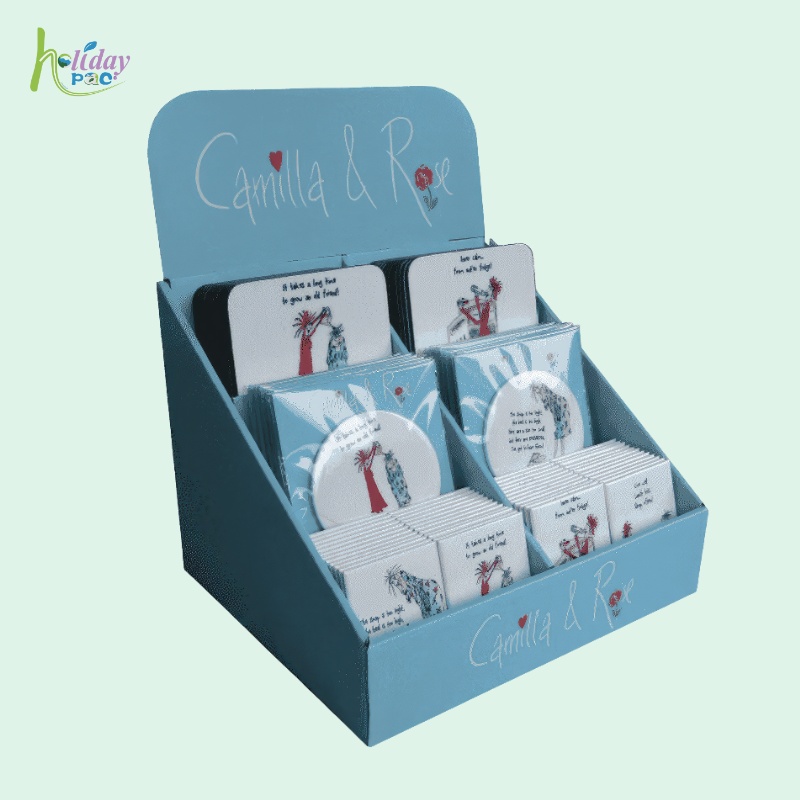
3) Tiered pocket display. Raised rows show more designs within a compact base. The greeting card display illustrates a pocket layout for flat merchandise.
4) Product-specific inserts. Bottles, tubes, and small boxes may need a fitted arrangement. Compare the perfume counter display and confirm each item’s dimensions before developing the insert.
【5】Bulk Production From Printing to Packing
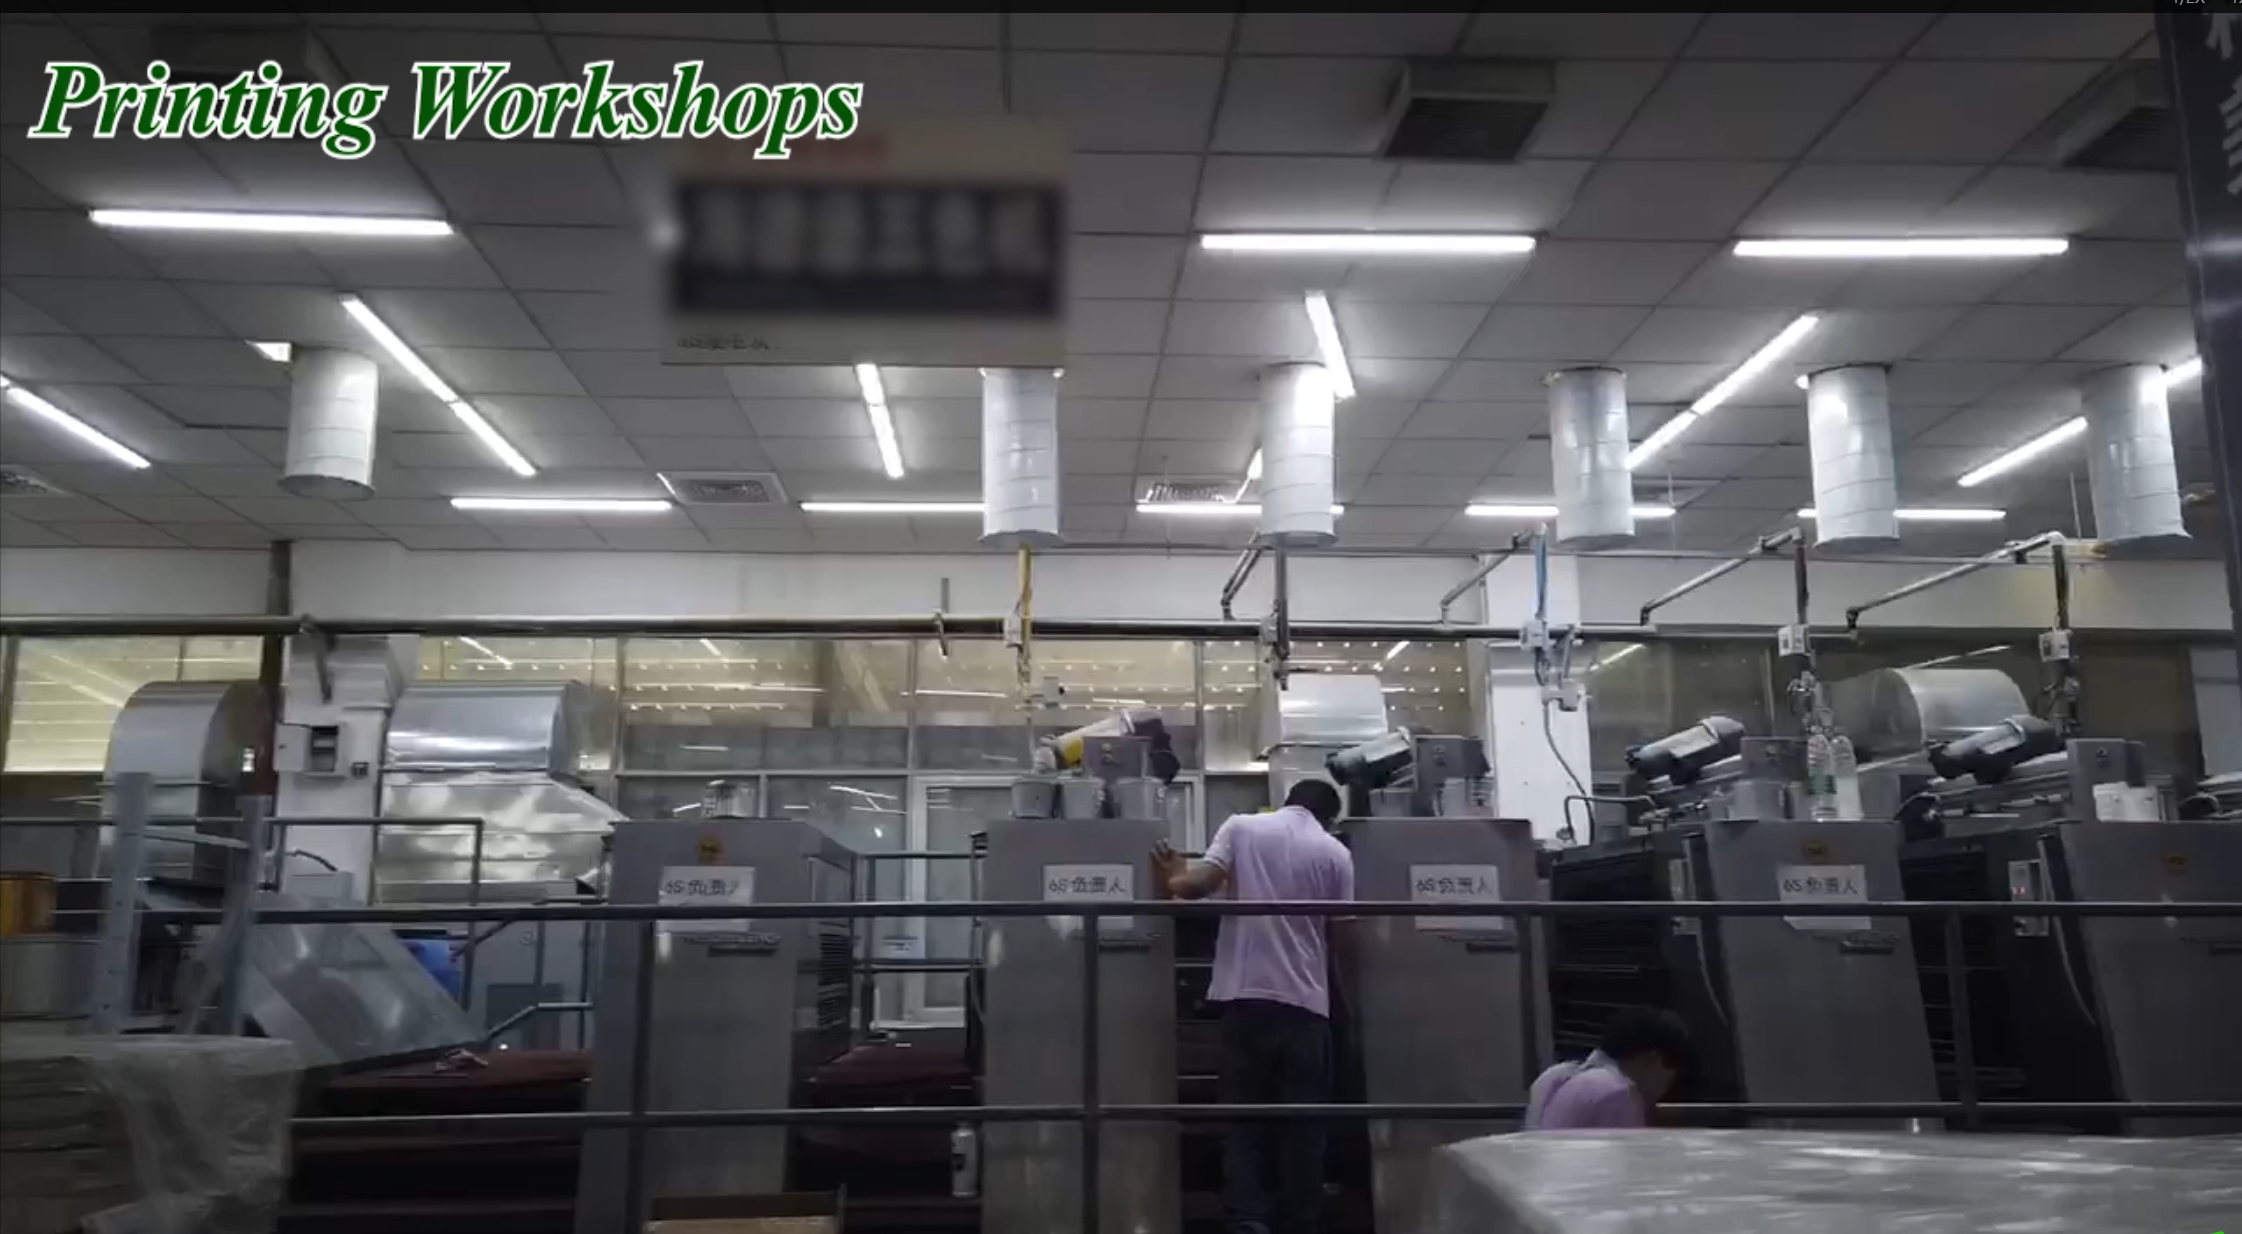
Printing
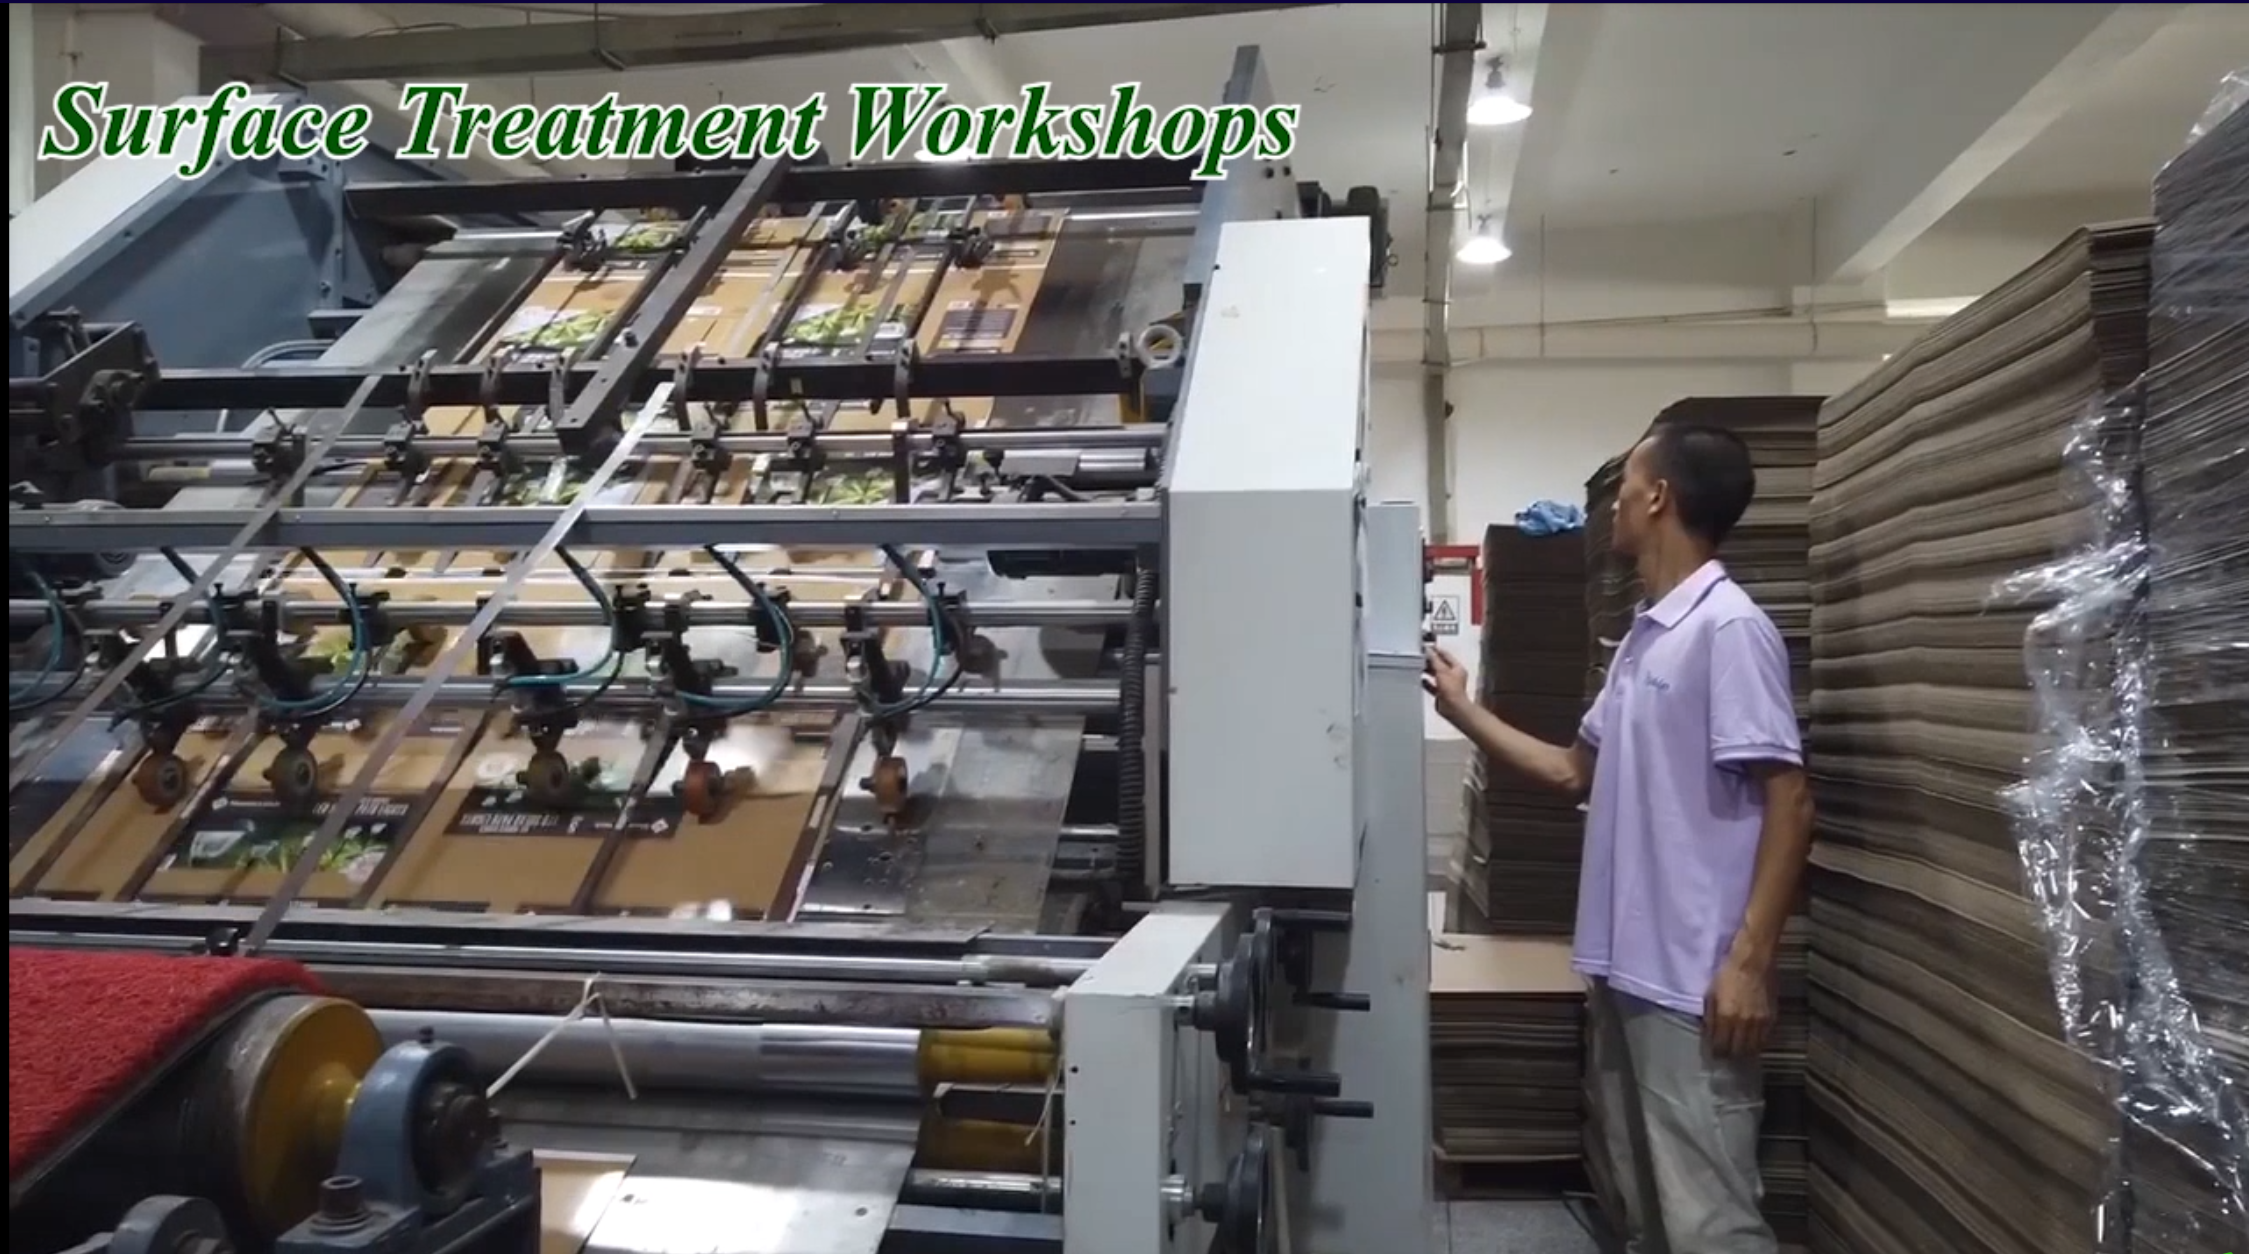
Surface Treatment
Folding and Gluing
Packing and Shipping
Confirm artwork, color references, and the print proof for your order. Ask which board and finish are appropriate for the planned display structure.
Agree on the surface finish and construction specification. Cutting and creasing should follow the approved dieline so the finished display folds to the intended shape.
Review folds, glued areas, dividers, and support points against the approved sample. Confirm that the completed unit stands and loads as intended.
Confirm flat or assembled packing and outer-carton protection. Include the delivery destination and store setup requirements in the order brief.
【6】Counter Displays for Checkout, Beauty, Cards, and Small Packs
Counter displays serve different merchandising jobs. Greeting cards need readable rows; boxed beauty items need clear branding; mixed ranges need separation; and small impulse products need quick access. Use the actual product package to define the layout instead of selecting a display only by its overall appearance.
Measure the available space. Record the maximum width, depth, and height, including any clearance near a register or service station. Leave working room for staff and shoppers.
Plan a realistic product load. State the number of units per display and unit weight. Check the loaded sample and do not assume one structure will suit every product weight.
Check replenishment. Make sure staff can add stock without dismantling the display. For several product variants, consider dividers or separate rows.
Match the setting. Confirm retailer requirements and campaign duration. If the program needs a larger floor or pallet display, compare the related categories rather than enlarging a countertop design without a structure review.
【7】How We Develop Your Counter Display Sample
1) Share the brief. Send packaged product dimensions, unit weight, product photos, the intended load, and the available counter footprint.
2) Review the layout. Confirm the tray or pocket arrangement, header visibility, and assembly method before preparing final artwork.
3) Test with your products. Load, remove, and replace the merchandise. Check that the display stays stable and that products remain visible and accessible.
4) Approve the specification. Confirm the structure, print, finish, packing, sample charges, and production timing in the quotation. Keep the approved version as the reference for the order.
Sample cuttingHand assembly at the workshop
【8】What Are the Benefits of Custom Counter Displays?
1) A defined product space. A compact display brings a selected range together instead of leaving individual packs scattered across the counter.
2) Visible brand messaging. A header and printed panels provide room for product information and campaign artwork. Keep the most useful message readable with the display fully loaded.
3) Organized shopping. Rows, pockets, and compartments help customers compare variants and pick up an item without rearranging the rest.
4) A project-specific format. Structure, print, and packing can be discussed together. Confirm practical performance on a sample rather than relying on a generic capacity or durability promise.
【9】Counter Display FAQs
1. Q: What is a cardboard counter display? A: A cardboard counter display is a compact display box, tray, or stand that presents products on a retail counter. Its footprint, dividers, and header are selected around the products and available space.
2. Q: How do I choose a counter display structure? A: Use tiered pockets for flat items such as greeting cards, compartments for products that need separation, and open trays for easy pickup. Confirm the fit with packaged product dimensions and the intended quantity per display.
3. Q: Can the display size and printing be customized? A: Share the available counter width, depth, and height together with your artwork and product dimensions. Request a structure and print proposal for your specific project.
4. Q: What information is needed for a quote? A: Provide packaged product dimensions and unit weight, units per display, order quantity, destination, required arrival date, and artwork if available. Include any retailer packaging or display requirements.
5. Q: Will the display arrive flat or assembled? A: Confirm the packing method during quoting. Flat-packed, assembled, and product-loaded displays involve different setup and shipping requirements; the suitable option depends on the structure and project.
6. Q: How are pricing, minimum order quantity, and lead time confirmed? A: Ask for a project-specific quotation. Structure, printing, order quantity, sample approval, packing method, and delivery destination affect the proposal. Confirm these details before placing an order.
Create Your Custom Counter Display Today
Send Holidaypac your product dimensions, units per display, order quantity, artwork status, destination, and required arrival date. Our team can discuss the structure and prepare a project-specific proposal. Request a counter display quote →